
Create your first funnel
A funnel controls which products display the Virtual Try-On button and how Icona generates their images. The button will not appear until you publish at least one funnel.
Create the funnel
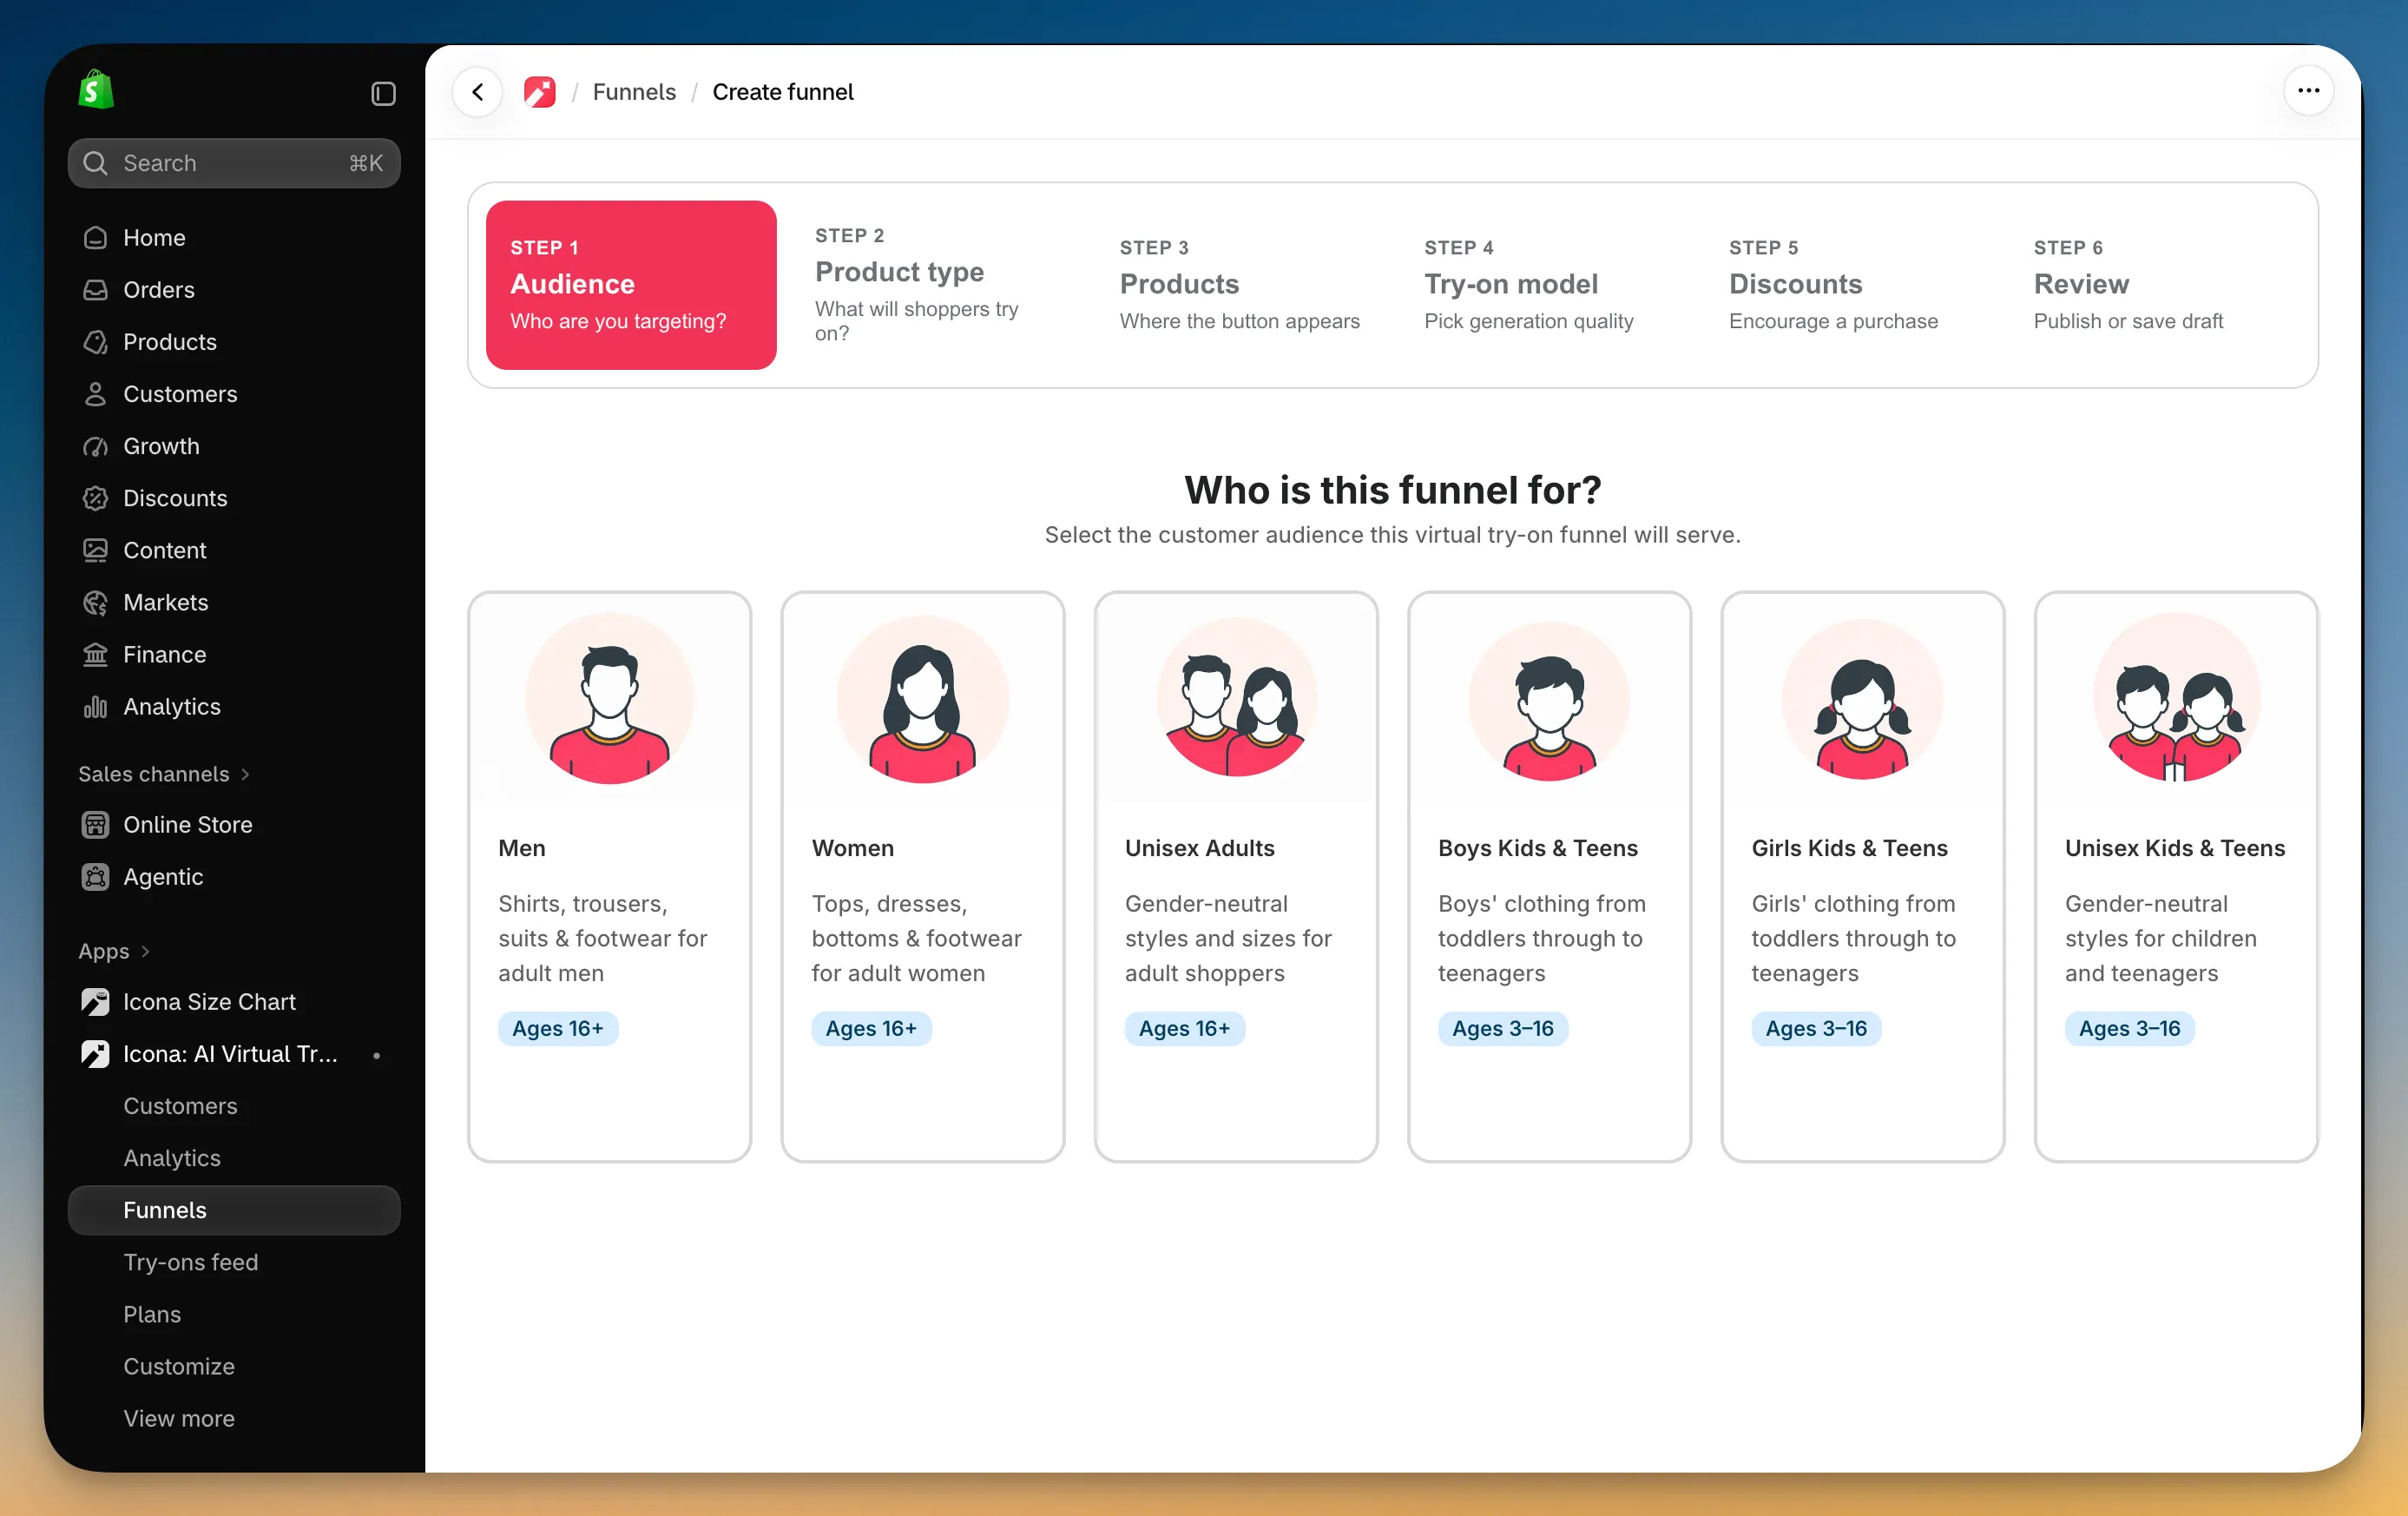
Section titled “Create the funnel”In the Icona app, go to Funnels → Create funnel. Then complete the following steps:
-
Audience: Choose who the funnel is for.
-
Product type: Choose the type of product your shoppers will try on.
-
Products: Select at least one product or collection.
-
Try-on model: Keep Balanced, the default option, for your first funnel.
-
Discounts: Skip this step for now. You can add a discount later.
-
Review: Name your funnel, review your choices, and publish it.
That’s all you need for your first funnel. You can return later to add more products, change the try-on model, or offer a discount.
What happens after publishing
Section titled “What happens after publishing”After you publish the funnel, Icona connects Virtual Try-On to the selected products. The button should appear on their product pages within a minute or two.
Next: make a try-on
Section titled “Next: make a try-on”Once the button is visible, make your first try-on to see the experience from a shopper’s point of view.